Can a Shimano Hollowtech II crank use an FSA MegaExo bottom bracket?
Understand why two nominally 24 mm crank systems are not automatically compatible, and verify the frame, crank, cups, spacing, and preload before fitting.
 Field guide / can-shimano-hollowtech-crank-use-fsa-megaexo-bottom-bracket
Not automatically. “24 mm” describes only a nominal spindle size; it does not prove that a Shimano Hollowtech II crank is approved for a particular FSA MegaExo bottom bracket. Cup width, bearing and seal geometry, manufacturing tolerances, road versus MTB configuration, spindle length, preload method, and the frame shell still have to match.
The short answer: identify the exact FSA bottom bracket, Shimano crank, and frame shell. Use a combination explicitly supported by the manufacturers. If no document approves the mixed pairing, fit the bottom bracket Shimano specifies for that crank and your frame instead of using force, removing seals, or relying on “it spins on the stand.”
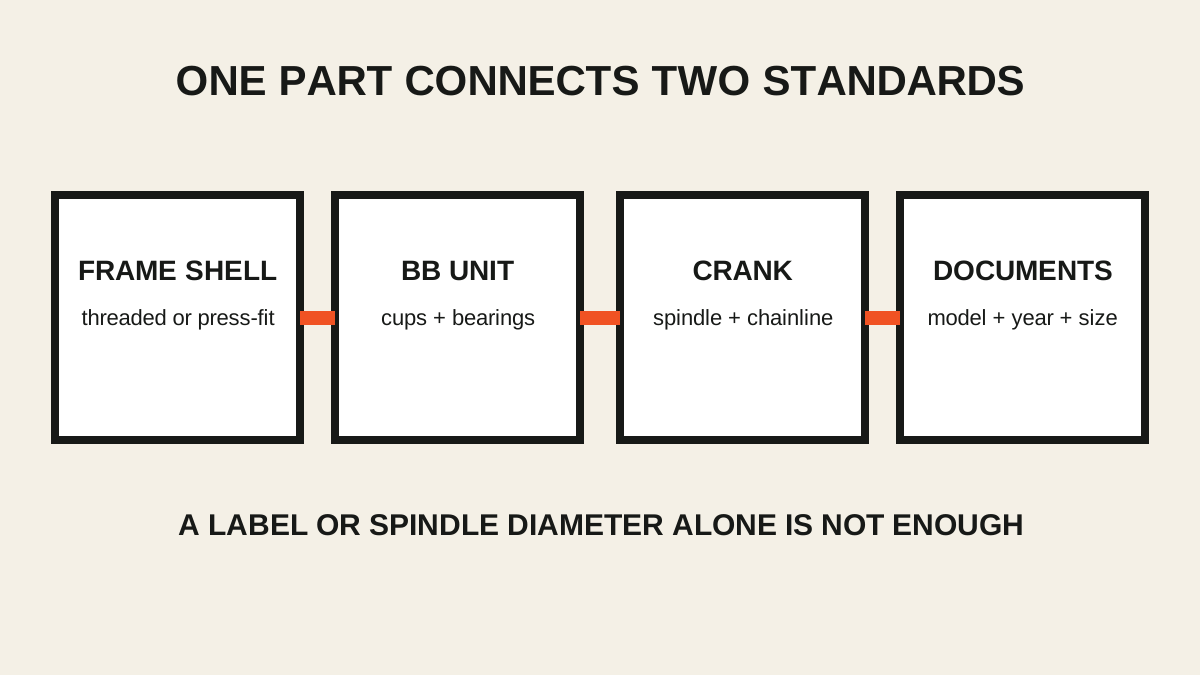
Why the 24 mm label is not enough
A current r/bikewrench discussion asked whether a shorter Shimano crank could run in an existing FSA MegaExo BB-8000/6000 bottom bracket. Replies disagreed about whether nominal dimensions made the pairing safe. That disagreement is precisely why the model-specific documents matter.
Two assemblies can both be sold as 24 mm yet differ in:
- actual spindle and bearing tolerances;
- seal lip shape and contact diameter;
- total cup-and-seal width across the frame;
- spindle shoulder location;
- road, MTB, light, or model-specific construction;
- wave washer, preload cap, adjuster, or spacer requirements;
- permitted frame-shell width;
- left-arm engagement and safety-plate design.
A spindle passing through both bearings proves only that it passes through. It does not prove correct preload, seal contact, chainline, crank engagement, or service life.
Identify all three systems
Write down three separate specifications.
The frame
Record the frame model, year, and bottom-bracket shell:
- BSA/English threaded, Italian threaded, BB86, or another standard;
- shell width;
- any frame-specific adapters or sleeves;
- whether the shell or an adapter is damaged or loose.
The installed bottom bracket
Find the full FSA model code on the cup, sleeve, packaging, or invoice. “MegaExo” names a family, not one universal unit. Do not overlook qualifiers such as road, MTB, Light, ceramic, BB86, or a model-specific suffix.
The proposed crank
Record the complete Shimano model, not merely “105” or “Tiagra.” Confirm:
- road or MTB family;
- spindle and crank construction;
- intended shell widths and compatible bottom brackets;
- required installation hardware and preload procedure;
- chainring and front-derailleur compatibility;
- crankarm and chainring clearance at the frame.
Use the crank maker’s listed bottom bracket
Shimano’s dealer manuals instruct mechanics to use a bottom-bracket cup compatible with the crankset and to consult the component combination information. FSA sells BB-6000 as a MegaExo 24 mm unit for particular frame and crank applications; that product name is not an FSA statement approving every third-party 24 mm crank.
The cleanest supported conversion normally follows this chain:
- Confirm the new Shimano crank is compatible with the bicycle’s drivetrain and frame.
- Find Shimano’s listed bottom bracket for that crank.
- Choose the version matching the frame shell.
- Price the bottom bracket, tools, labour, and any chain or front-derailleur work together.
When a matching bottom bracket is readily available, saving the old cups rarely justifies an undocumented mixed interface.
Do not “test fit” with force
Stop if the spindle does not slide through as the crank manual shows. More force can damage a seal, displace a bearing, mark the spindle, or leave a crank that binds.
Also stop when:
- the crank has lateral play after the correct preload sequence;
- rotation becomes tight when the left arm is secured;
- the left arm does not reach its specified engagement position;
- a safety plate or fixing feature will not seat;
- spacers are left over or added without documentation;
- chainrings contact the frame or chainline is visibly wrong;
- the front derailleur cannot be adjusted within its approved range.
Do not sand a spindle, peel off seals, substitute hardware-store washers, or use the crank fixing bolts to pull a reluctant spindle through.
Check more than bearing fit
Changing from FSA to Shimano can affect:
- crank length and therefore saddle-height baseline;
- chainring spacing and front shifting;
- chainline;
- chain compatibility and wear pairing;
- clearance at chainstays and the front derailleur;
- power-meter clearance if present;
- pedal stance and bike fit.
If the purpose is shorter cranks, record saddle height before removal and expect to reassess it after installation. A crank-length change is not only a bottom-bracket job.
Verify the finished installation
After installation by the exact manuals:
- Confirm smooth rotation without lateral play.
- Check every fixing bolt, preload part, safety plate, and spacer.
- Turn the cranks slowly and inspect frame and derailleur clearance.
- Shift through every gear on a stand without applying heavy force.
- Make a short, low-load test ride away from traffic.
- Recheck for play, binding, noise, and movement at the manual’s stated interval.
If the old bottom bracket is worn, rough, contaminated, or of uncertain identity, replace it rather than carrying uncertainty into the new crank.
Your next step
Photograph the frame shell, both bottom-bracket cups, and the crank model code. Put the three exact model specifications side by side. If the manufacturers do not document the mixed FSA/Shimano pairing, order the approved Shimano-compatible bottom bracket for the frame or ask a qualified workshop to specify it.
For a broader identification workflow, use how to identify a bottom bracket before replacement.
Sources and further reading
- Shimano Hollowtech II crank installation and compatible-cup guidance
- FSA BB-6000 and MegaExo bottom-bracket listings
- r/bikewrench reader context: Shimano crank with FSA BB-8000/6000 — used as an editorial question signal; conflicting replies were not treated as compatibility approval.