Broken crank preload cap or adjuster: stop and identify the system
Tell a Shimano-style preload cap from a SRAM-style preload adjuster, inspect for crank play or damage, and use the exact installation manual before riding.
 Field guide / broken-crank-preload-cap-or-adjuster
A plastic ring or cap beside a crank may set bearing preload, assist installation, protect an opening, or belong to a retention system—but those jobs differ by crank design. Do not copy a repair from a photograph of another brand. Identify the exact crank, stop riding if there is play, and follow its service document.
The short answer: a broken preload part does not automatically mean the whole crankset is ruined, but it is not safe to dismiss. Check for crank movement, loose primary fasteners, damaged splines, impact marks, missing spacers, and rough bearings. Replace the correct part and reinstall the crank to the exact model procedure before normal riding.
Why the name creates bad advice
Recent repair discussions include a snapped SRAM DUB preload ring after overtightening and a damaged crank-area part after a substantial impact. Older high-engagement threads repeatedly describe crank arms loosening after incomplete installation.
The recurring problem is that “preload cap,” “adjuster,” “end cap,” and “crank bolt” are used interchangeably online. They are not interchangeable parts.
Two common examples show the difference:
- On covered Shimano HOLLOWTECH II systems, a threaded cap is used during installation to remove play before the two left-crank pinch bolts are tightened in alternating stages. A stopper plate is also part of the documented assembly.
- On covered SRAM DUB systems with a preload adjuster, the main crank bolt secures the crank, then the separate ring is turned to remove play and its small bolt locks the adjuster.
Other cranks use different one-bolt, self-extracting, wave-washer, spacer, or proprietary arrangements. Identify before acting.
Stop and inspect before tightening anything
Clean the area and look for the crank model marking. Then check, with the bike stationary:
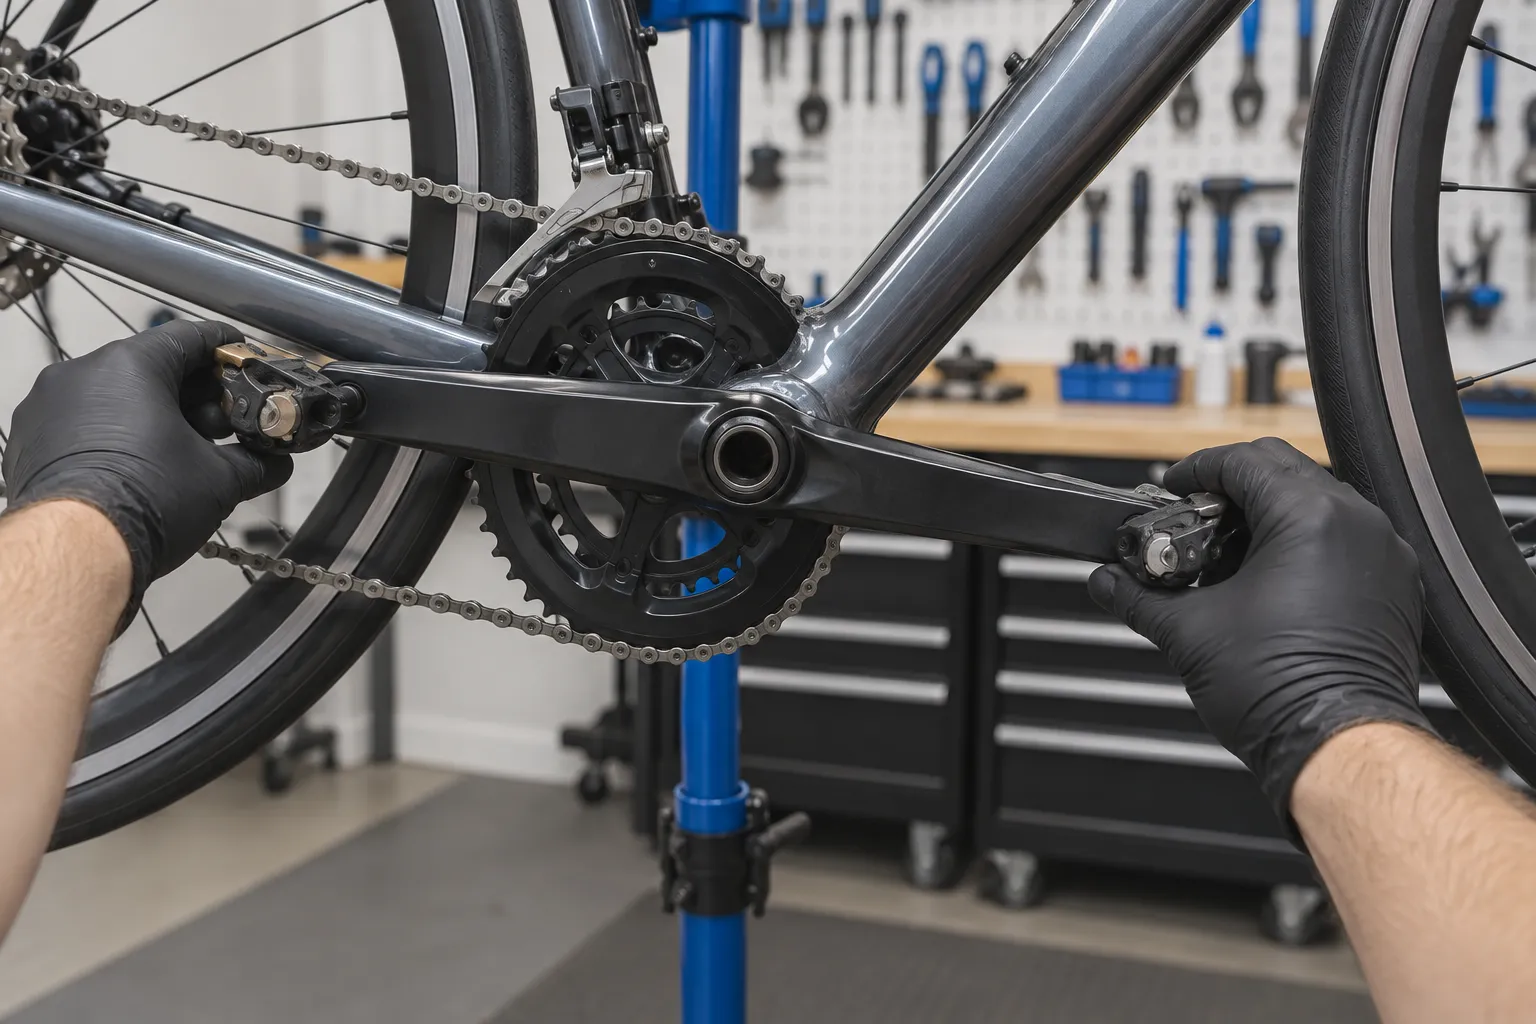
- Hold one crank and push it toward and away from the frame.
- Compare movement at the opposite crank and chainrings.
- Look for a gap that changes as you push.
- Inspect the spindle interface, crank splines, main bolt, pinch bolts, safety plate, spacers, and preload part that are present.
- Note any impact scar, cracked plastic, metal dust, fretting marks, or distorted fastener.
Do not ride if there is movement, a primary fastener is loose, or a crank has previously worked loose. Riding can damage an interface that might otherwise have needed only correct assembly.
Do not use the preload part as a retaining bolt
Preload removes free play from a bearing system before or during final retention. It is not permission to keep tightening until all movement disappears regardless of cause.
On Shimano’s covered two-piece system, the official installation sequence uses the adjusting cap, then the stopper plate and alternating pinch-bolt tightening to specified torque. On SRAM’s covered DUB system, the official sequence specifies the main crank-bolt torque, seating, then preload-adjuster contact and lock-bolt step.
If the crank is loose because the primary retention was not installed correctly, tightening only the plastic cap or ring may crack it while leaving the real fault untouched.
Decide whether the part or the interface is damaged
A mechanic may be able to replace only the correct cap or adjuster when:
- the crank never moved on the spindle;
- the failure was limited to an identifiable replaceable part;
- splines, threads, stops, and spacers are undamaged;
- the crank and bearings pass the maker’s inspection;
- the complete system can be reinstalled to specification.
Escalate to detailed inspection or component replacement when:
- the crank arm fell off or repeatedly loosened;
- splines are rounded, widened, gouged, or contaminated with metal debris;
- threads no longer hold the specified fastener;
- the spindle or crank is cracked, bent, or impact-damaged;
- bearing play remains after correct installation;
- the existing spacer stack does not match the frame and crank manual;
- the replacement requires pressing, bonding, or modifying parts outside the maker’s procedure.
An aftermarket metal adjuster is not automatically an upgrade. It may use a different installation method, and metal can make overtightening easier rather than safer. Use it only when its maker explicitly lists the exact crank and provides a complete procedure.
Use the exact manual, not remembered torque
Find the manufacturer document by crank model and generation. Confirm:
- frame bottom-bracket standard and shell width;
- required spacers and orientation;
- grease or thread treatment;
- installation order;
- torque for each distinct fastener;
- whether bolts must be tightened alternately;
- any post-ride recheck interval.
Do not borrow a torque value from another crank that looks similar. Shimano’s published notice for covered HOLLOWTECH II cranks, for example, specifies alternating incremental tightening and a torque recheck after initial riding. SRAM publishes a different DUB sequence and warns against riding with loose bolts.
If you lack the correct torque range, tool, or confidence to assess the interface, take the complete bike and broken part to a mechanic. This is a poor place for a road-test experiment.
Test only after correct reassembly
After documented installation, rotate the cranks by hand and confirm smooth movement without binding or lateral play. Shift through the drivetrain on a stand. Recheck the relevant fasteners as the manufacturer directs.
The first ride should be short, seated, and close to home. Stop immediately for a click, creak, renewed play, or changing chainline. A crank that loosens again needs inspection, not another roadside retightening.
Your next step
Photograph the crank markings and broken part, find the exact manufacturer manual, and keep the bike parked until the system has been inspected and reassembled correctly. If there is any side-to-side movement, use the crank-play diagnosis guide and involve a competent mechanic.
Sources and further reading
- Shimano: HOLLOWTECH II installation and left-crank tightening notice
- SRAM: DUB crankset and preload-adjuster installation
- Park Tool: two-piece compression-slotted crank installation
- r/bikewrench reader context: snapped DUB preload ring
- r/bikewrench reader context: crank arm coming loose after service