Are hydraulic brake-hose olives and barbs universal?
Identify the exact brake, hose, barb, olive, nut, fluid, and service procedure before shortening a hydraulic bicycle brake hose.
 Field guide / are-hydraulic-brake-hose-olives-barbs-universal
Hydraulic bicycle brake-hose olives and barbs are not safely universal. Parts that look similar can differ in hose diameter, insert shape, sealing geometry, compression-nut thread, material, and approved fluid. Match the complete connection to the exact brake model and hose specification.
The short answer: read the lever and caliper model numbers, find the current service manual and parts list, then buy the listed hose kit or fittings. Do not choose by colour, outside diameter, online resemblance, or brand name alone. Do not reuse a crushed olive or removed barb unless the exact maker explicitly permits it.
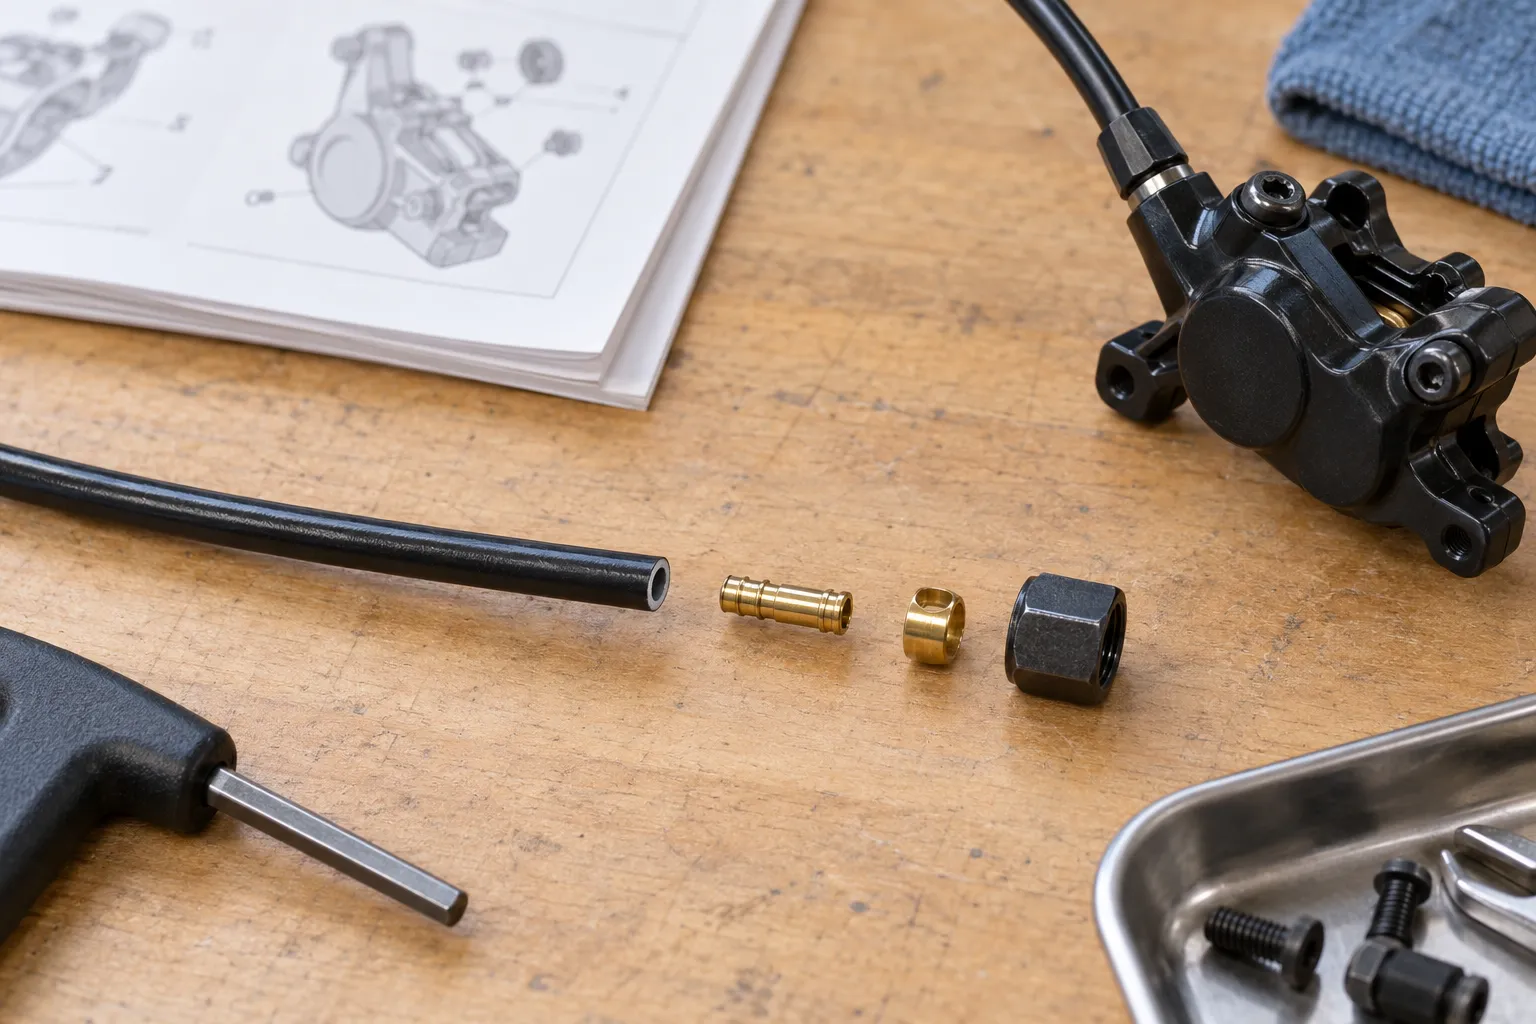
Why “it is a 5 mm hose” is not enough
A recent repair question asked which barb and olive fit a 5 mm Tektro hydraulic hose and whether fittings were universal across the brand. The useful lesson is broader than that one brake: outside diameter does not define the whole sealing system.
Compatibility can depend on:
- brake lever and caliper model;
- hose model and inner construction;
- lever-side versus caliper-side connection;
- straight fitting, banjo, or quick connector;
- barb length and shoulder shape;
- olive orientation and compression profile;
- compression nut and port thread;
- approved mineral oil or DOT fluid;
- model-specific torque and insertion depth.
Do not transfer a fitting rule from another product family. Even one manufacturer can sell 5.0 mm and 5.5 mm hose systems with different instructions.
Identify the complete brake system
Clean the outside of the lever and caliper, then record every model marking. Also note the hose code printed along the line, if present. Photograph the routing and both connections before disassembly.
Search the manufacturer’s official service site for:
- the user manual;
- the dealer or workshop manual;
- the exploded parts view;
- the replacement hose kit or fitting part number;
- the approved fluid and bleed procedure.
If the lever and caliper are from different families, verify the combination rather than assuming they share a hose. A used bike may already contain a non-original assembly.
Treat olives and inserts as connection-specific parts
An olive is compressed during installation to create a seal. A connector insert or barb supports and seals the cut hose end. Once installed, those parts may be permanently deformed.
Shimano’s current road hydraulic dealer guidance explicitly says not to reuse its olive or connector insert and warns that an angled hose cut can cause a leak. That is Shimano’s rule for the documented system, not automatic permission to apply Shimano parts to another brake.
TRP/Tektro documents also show why model-specific reading matters. One current TRP/Tektro hose installation sheet distinguishes 5.0 mm and 5.5 mm hose kits and specifies fitting order and olive orientation. The presence of both systems is enough reason not to reach into a mixed fittings drawer.
Do not force a stuck compression nut
Before applying more force, determine what you are looking at. A compression nut may be threaded into the lever or caliper while the crushed olive grips the hose. The nut may remain captive on the old hose after removal; that does not make the olive reusable.
Stop if:
- the correct tool does not fit cleanly;
- the port, nut, or fitting begins to round;
- the lever or caliper twists in its mount;
- corrosion, thread damage, or a previous repair is visible;
- the manual shows a banjo, seal, or quick connector you do not have;
- fluid reaches a rotor, pad, tyre, or painted surface.
A damaged hydraulic port can turn a hose-shortening job into a lever or caliper replacement.
Shorten only after checking the routing
A hose must remain long enough for full steering movement, suspension or frame movement where applicable, and safe routing without kinks, pulling, abrasion, or interference.
Turn the bar fully both ways before marking the cut. Check that the hose cannot snag a light, bag, computer mount, number plate, or tyre. Follow the frame maker’s routing instructions, especially through an integrated cockpit.
The cut must be clean and square using the specified tool. Install the approved nut, olive, and new insert in the documented order and orientation. Use the fitting depth, lubricant if specified, and torque from the exact manual—not a generic number from another brake.
Bleeding and testing are part of the job
Opening or shortening the system may require a bleed even when little fluid appears to escape. Use only the approved fluid. Mineral oil and DOT brake fluid are not interchangeable, and seals designed for one can be damaged by the other.
After assembly:
- Complete the manufacturer bleed procedure.
- Clean the exterior without contaminating pads or rotor.
- Hold firm lever pressure and inspect every connection for seepage.
- Confirm consistent lever feel and pad movement.
- Test at walking pace in a traffic-free area.
- Reinspect before a normal ride.
Replace contaminated pads when the maker’s procedure requires it; do not try to burn unknown fluid out of a braking surface.
When to give the job to a mechanic
Use a qualified mechanic when the model cannot be identified, official documentation is unavailable, parts have been mixed, the hose runs through an integrated bar or frame, a port is damaged, the system needs unfamiliar bleed tools, or this is your only functioning brake and you cannot verify the result.
Learning maintenance is valuable, but the beginner maintenance guide starts with reversible tasks for a reason.
Your next step
Photograph the lever, caliper, hose printing, and both end fittings. Find the official parts diagram and write down the complete hose-kit number before ordering anything. If the exact match remains uncertain, take those photos to a shop instead of buying a generic olive-and-barb assortment.