Carbon bike rim hit a pothole: inspect, repair, or replace?
Stop riding after a hard rim strike, inspect the tyre and complete wheel, preserve warranty evidence, and use the maker or a qualified carbon specialist to decide its future.
 Field guide / carbon-bike-rim-hit-pothole
A carbon wheel that still spins true after a pothole strike is not automatically sound. The tyre can hide bead-seat damage, the rim may be compromised without a dramatic wobble, and warranty or crash-support decisions depend on evidence you can accidentally erase.
The short answer: stop riding, note any pressure loss, remove the wheel, and clean it only as the maker permits. Inspect the tyre, bead seat, rim walls, spoke bed, spokes, hub, brake surfaces, and wheel alignment. Any structural warning means no more inflation or riding. Photograph the damage and contact the wheel maker or a qualified carbon inspector before authorising repair.
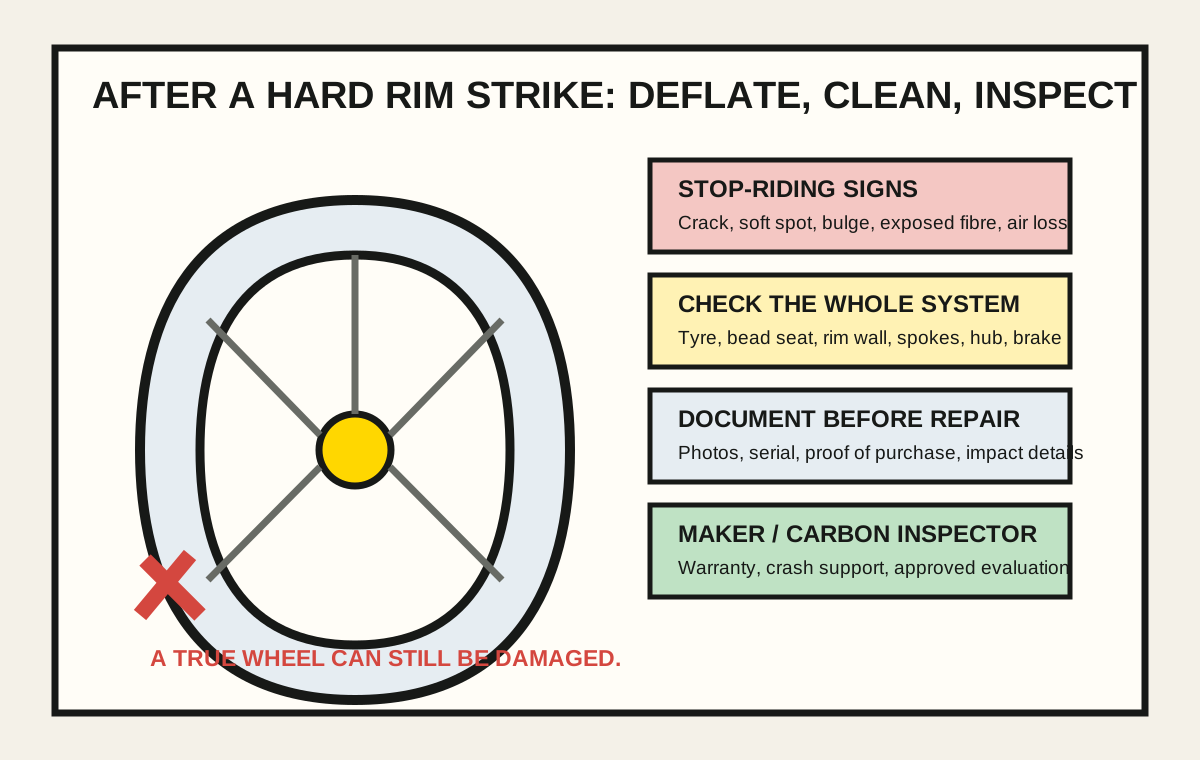
At the roadside, make the ride-over decision conservative
After the impact, slow without abrupt steering and stop away from traffic. Check yourself first. Then look for sudden air loss, tyre bulge, bead displacement, rim distortion, loose spokes, brake rub, or a new sound.
Do not add high pressure to “see if it holds.” Do not ride a questionable front wheel, descend on it, or rely on a short distance home. Call for recovery when the rim took a direct strike or any warning is present.
If there is no visible damage and the maker permits continued use after this type of inspection, a decision still depends on the impact, tyre pressure, rim design, and complete wheel condition. This article cannot clear a specific wheel remotely.
Preserve evidence before dismantling
Photograph:
- the pothole-side area of tyre and rim;
- both rim walls and bead lines;
- any cut, scuff, crack, white mark, bulge, or exposed material;
- the whole wheel in the frame;
- serial number and product label;
- tyre size, pressure used, and rim setup;
- broken parts and the road hazard where safe.
Record the date, approximate speed, wheel position, whether pressure was lost, and whether the wheel was ridden afterward. Keep proof of purchase. Do not sand, polish, glue, drill, or remove labels before the maker evaluates a possible claim.
Warranty terms are product- and owner-specific. Zipp’s current policy, for example, covers specified model years and riding failures for the original owner with proof of purchase, while non-covered cases may follow a separate support programme. A used wheel may not receive the same coverage.
Clean without creating another problem
Follow the wheel manual. Zipp instructs owners to use only mild soap and water on its road wheels and not pressurised water or chemical cleaners. Other makers may specify different products.
Remove surface dirt with a soft cloth so fine lines can be seen. Keep oils and cleaners away from disc rotors, pads, and rim-brake tracks. Do not tap the rim and diagnose it from sound alone; construction, cavities, tyres, and spoke tension can all change the noise.
Inspect the complete impact path
Tyre and bead
Look for a cut, pinch mark, bulge, exposed casing, distorted bead, or sealant leak. Deflate before manipulating a suspicious bead. A damaged tyre can fail independently of the rim.
Rim hook or hookless bead seat
Inspect the area where the tyre loads the rim. Stop for a chip that enters structural material, a split, local flare, crushed edge, sharp surface, or shape difference compared with the opposite side. Hookless and hooked rims have different tyre and pressure requirements; use the exact manual.
Rim wall and spoke bed
Use diffuse light from several angles. Look for a line that opens under very gentle hand pressure, a soft area, bulge, depression, exposed fibre, surface lifting, or damage around spoke holes. Do not flex the rim aggressively to search for movement.
Spokes, nipples, hub, and alignment
Check for broken, bent, or suddenly loose spokes and pulled nipple beds. Spin the wheel only in a secure stand or compatible frame, without riding it. Observe lateral and radial movement and hub play. A true wheel is encouraging evidence, not structural clearance.
Brake system
For rim brakes, inspect the complete brake track against the maker’s wear and damage criteria. SRAM’s Zipp manual says not to use a carbon rim with a worn brake track and to seek retailer inspection when underlying parallel fibres are exposed. For disc wheels, inspect the rotor, lockring, hub, and caliper alignment after reinstalling a cleared wheel.
Repair is a controlled engineering decision
Carbon bicycle rims are highly loaded structures that retain tyres, transmit spoke tension, and may provide a braking surface. A cosmetic frame repair example does not prove a wheel rim is repairable.
Ask the original maker:
- Is this rim design approved for repair in the damaged location?
- Who is authorised to perform and document it?
- What inspection method is required first?
- Will repair preserve tyre, pressure, brake, rider-weight, and use ratings?
- What warranty applies to the repair and complete wheel?
- Must the wheel be rebuilt with new spokes or nipples?
If the maker requires replacement, an independent opinion should come from a specialist with specific wheel-rim capability—not a generic promise that “carbon can be fixed.”
Replacement may mean a rim, wheel, or pair decision
A service centre may replace the rim and rebuild the existing hub, replace the complete wheel, or offer crash support. Confirm spoke and hub compatibility, rim dimensions, tyre system, brake type, axle, freehub, weight limit, intended use, and matching front/rear behaviour.
You do not automatically need a matching pair for appearance, but mixing wheels changes specifications you must understand. Use how to choose a compatible replacement road-bike wheel before ordering.
Prevent the next impact from becoming a guessing exercise
Use a gauge, remain within both tyre and rim pressure limits, and choose pressure for system weight, tyre width, surface, and setup. Maximum pressure is not a target. Repeated rim strikes point toward insufficient pressure, too-narrow tyres, unsuitable line choice, excessive load, or a combination.
Practise scanning and safe line choice with how to ride through road debris. Avoid a last-second swerve into traffic; slowing early and leaving space is more useful than attempting to jump every defect.
Your next step
Keep the wheel deflated and out of service. Make the photo-and-serial evidence set, then ask the wheel maker for a written inspection, warranty, crash-support, or replacement path before anyone alters the rim.
Sources and further reading
- SRAM/Zipp: current wheel warranty and Keep Rolling support terms
- SRAM/Zipp: road-wheel maintenance and carbon-rim warnings
- r/cycling reader context: a used carbon rear wheel damaged in a pothole strike — used as a current repair-versus-replacement signal; warranty eligibility and repairability were not inferred from the post.