Can you put a kickstand on a road or gravel bike?
Check for an approved direct mount before adding a kickstand; clamp-on stands can damage frames or interfere with tyres, cables, cranks, and brakes.
 Field guide / can-you-put-kickstand-on-road-bike
You can put a kickstand on some road and gravel bikes, but the frame must provide an approved mounting point or its manufacturer must explicitly allow the proposed clamp. A round tube and a clamp that appears to fit are not proof of compatibility—especially on carbon, shaped aluminium, internally routed, or close-clearance frames.
The short answer: look first for a direct-mount plate or two threaded bosses near the non-drive chainstay or behind the bottom bracket. Match the stand to that interface and follow the bike maker’s torque and load guidance. If there is no approved mount, use a portable display stand, wall, rack, or careful leaning method instead of improvising a clamp.
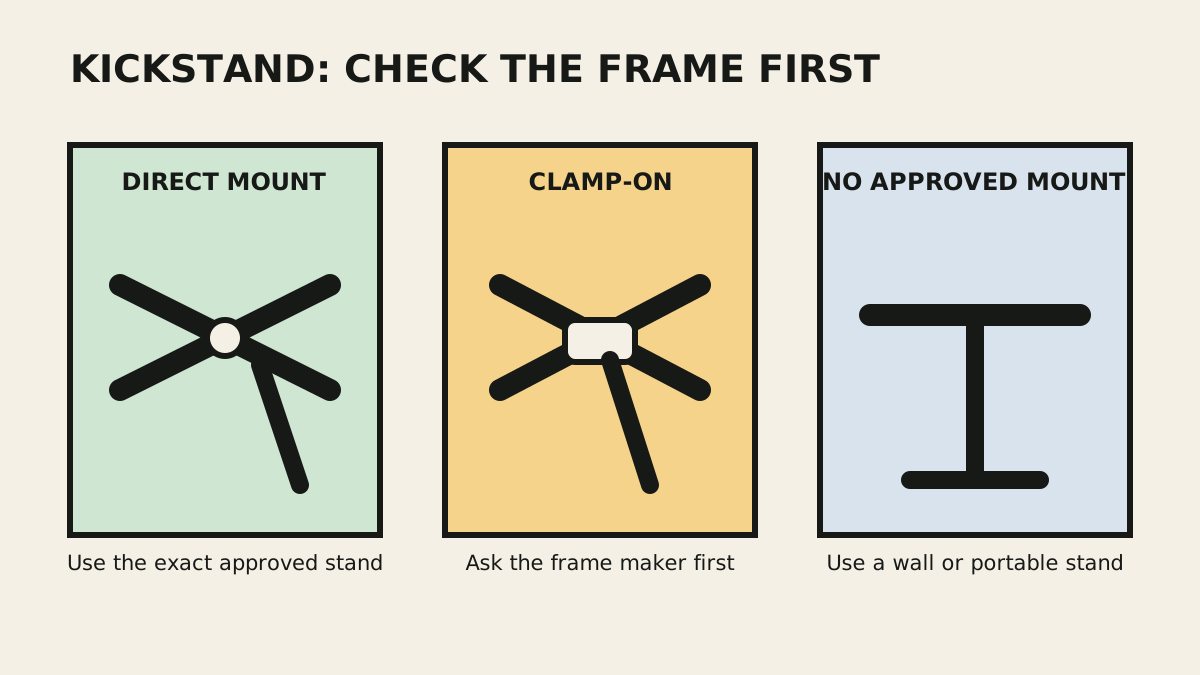
Identify the frame interface
Clean the area around the bottom bracket and left chainstay, then look for one of these arrangements:
- Two-bolt rear direct mount: two threaded holes, commonly on a purpose-made tab near the rear dropout or chainstay.
- Centre mounting plate: a reinforced plate between the chainstays behind the bottom bracket, often with one central hole.
- No dedicated mount: plain chainstays with no plate, bosses, or frame-specific accessory documentation.
Do not identify a mount from appearance alone. A small threaded fitting may be intended for a mudguard, cable guide, sensor, or another accessory with a very different load. Search the bicycle’s model-year manual or accessory list using the full frame name and size.
Trek, for example, lists direct-mount stands by the mounting-tab dimensions, while its centre-mount product specifies an integrated plate. That illustrates why “universal” is not a frame specification.
Why a clamp-on stand needs permission
A clamp creates concentrated pressure and repeated bending at the contact area. The risk depends on tube material, wall thickness, shape, welds, paint, cable paths, and the stand’s leverage when the bicycle is loaded.
Cannondale’s own clamp-on stand instructions require full pad contact, warn that over-tightening or looseness can damage the frame, and call for an experienced mechanic because bicycle designs vary. That is approval for the combinations covered by that product—not permission to clamp any stand onto any frame.
Carbon frames deserve a firm boundary. General warnings against clamping carbon in repair stands show that a carbon tube should not be treated as a generic clamping surface. Unless the frame maker approves a specific kickstand and location, do not create your own clamp interface with rubber, tape, hose clamps, or a “gentle” bolt setting.
Check movement and clearance before riding
With an approved stand loosely positioned, verify the complete movement path before final tightening:
- Fold and deploy the stand while the bicycle is stationary.
- Turn the cranks through full rotations in every relevant chainring.
- Shift across the cassette and check chain clearance.
- Compress the tyre against the ground and confirm wheel, mudguard, and spoke clearance.
- Check every cable, hose, electronic wire, and front-derailleur route.
- Confirm the folded foot cannot catch your heel.
- Confirm the stand cannot rotate toward the tyre or crank if its fastener loosens slightly.
Install only with the documented hardware, preparation, and torque. Do not substitute a longer bolt that bottoms inside a boss, add washers that reduce thread engagement, or tighten until the stand “cannot possibly move.”
A kickstand is not a work stand
A normal side stand supports an unloaded bicycle on stable ground. It is not designed for a rider to sit on the bike, for a child to climb onto it, for repairs, or automatically for heavy touring luggage.
Before parking, choose firm, level ground; deploy the stand fully; turn the front wheel only as the product recommends; and gently test stability before letting go. Remove a pannier or child seat load if the stand and frame are not rated for it. Wind, a soft verge, a sloping surface, or a loaded bag can move the combined centre of mass beyond the support point.
Check the fasteners and mount regularly. Stop using the stand if it rotates, cracks, bends, loosens repeatedly, damages the finish, or no longer folds securely.
Practical alternatives when there is no approved mount
Not fitting a kickstand does not mean dropping the bike on the ground. You can:
- lean the rear tyre against a wall while keeping the frame clear;
- rest the saddle edge against a stable surface when appropriate;
- use a portable axle, crank, or rear-wheel display stand compatible with the bike;
- use secure workplace parking with a wheel channel or rack; or
- choose a bicycle with factory kickstand and luggage mounts when everyday parking is a core requirement.
If commuting is the main use, include parking, locks, mudguards, and luggage in the bike choice rather than forcing a race-oriented frame to become a utility bike. The road-bike buying checklist helps separate required functions from attractive specifications.
Your next step
Photograph the area behind the bottom bracket and the non-drive chainstay, then find the exact frame manual. Record the approved mount type, bolt spacing, stand model, maximum load, hardware, and torque. If the documentation does not answer those questions, ask the frame manufacturer or use a stand that does not attach to the frame.
Sources and further reading
- Cannondale Eileen kickstand instructions
- Trek Greenfield direct-mount kickstand: required mounting tab and bolt spacing
- Trek Greenfield centre-mount kickstand: integrated mounting plate requirement
- Canyon road-bike quick-start guide: carbon clamping and inspection cautions
- r/bikefit discussion: a useful bike-fit request diverted into a kickstand debate — used as an editorial demand signal, not installation evidence.
- r/cycling discussion: one bike for commuting and triathlon, including kickstand needs — used as an editorial demand signal.