Bleed block vs piston spreader: which brake tool do you need?
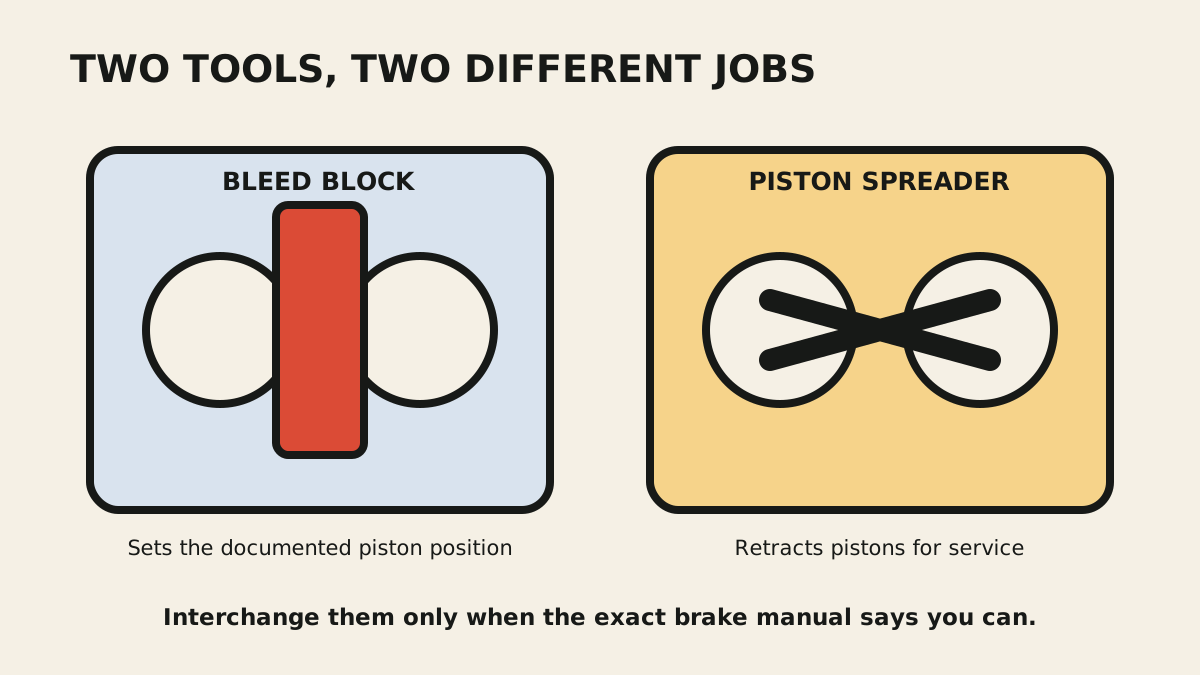
A bleed block sets the brake maker's piston position and fluid volume; a piston spreader retracts pistons and is not automatically a substitute.
 Field guide / bleed-block-vs-piston-spreader-bike-brakes
A bleed block and a piston spreader can both sit between hydraulic brake pistons, but they do not automatically perform the same job. The bleed block places the pistons at the brake maker’s defined service position so the system receives the intended fluid volume. A spreader is primarily used to retract pistons or support another documented service step.
The short answer: during a bleed, install the exact block specified for that caliper and procedure. Do not replace it with a pad spacer, transport wedge, old rotor, tyre lever, or generic piston press merely because the object fits. A substitute is valid only when the current manual for the exact brake says so.
What the bleed block controls
Removing the wheel and brake pads leaves the pistons free to move farther than they do in normal operation. The bleed block occupies a defined space between them and usually provides a way to keep the pistons stable while fluid and air move through the system.
SRAM explains the consequence directly: the correct road-brake bleed block sets the piston starting point and therefore the correct amount of fluid. Bleeding without it can overfill the system, which may cause persistent pad rub or reduced performance.
The important word is correct. Different calipers, piston layouts, generations, and procedures can require different blocks. Even blocks from the same brand may differ in thickness, shape, colour, wedge action, or retainer-hole position.
What a piston spreader does
A piston spreader or press applies controlled force to retract pistons into the caliper. It may be used before pad installation, during piston cleaning or massage, or in a procedure that explicitly combines spreading and bleeding.
It does not necessarily hold the exact gap required for fluid-volume setting. A flat tool can fully retract the pistons but leave a different distance than the specified block. A tool that rocks or contacts a piston unevenly can also damage a ceramic piston or seal area.
There are deliberate exceptions. SRAM’s current mineral-oil mountain-bike manual states that one named piston press may be used as a bleed block, and its current road procedure uses an expanding universal bleed block. Those examples reinforce the rule: the manual names the permitted tool and how to set it.
Do not confuse four different inserts
Before opening the brake system, identify each item:
- Bleed block: used during the specified bleed or hose-shortening process.
- Pad spacer or transport wedge: prevents the pistons closing when the wheel is removed; it may preserve a smaller operating gap.
- Piston spreader or press: moves pistons back into the caliper.
- Piston massage spacer: supports a model-specific process for balancing piston movement.
The names are not interchangeable, and colour is not a reliable universal code. Match the brake model code to the current service document and its tool table.
Why a nearly correct thickness is not enough
Suppose a substitute holds the pistons slightly too close together. The system may be filled with more fluid than intended. With pads and rotor reinstalled, there may be too little running clearance, especially as heat changes the system.
If the substitute holds the pistons too far apart, lever travel or bite position may be wrong after reassembly. But a soft lever can also mean trapped air, a leak, incorrect lever settings, hose problems, damaged seals, or another fault. Do not “correct” it by deliberately overfilling.
Brake feel is an outcome to test, not a reason to ignore the procedure.
A controlled preparation checklist
Before beginning:
- Record the lever and caliper model codes.
- Download the matching current service or dealer manual.
- Confirm fluid type; mineral oil and DOT systems require different fluids and handling.
- Confirm the exact bleed block part or illustrated shape.
- Confirm lever reach and contact-point settings required before bleeding.
- Inspect hoses, fittings, pistons, seals, pads, rotor, and fasteners.
- Protect pads and rotors from fluid and dirty tools.
- Prepare the specified personal protective equipment and cleanup materials.
If the manual is ambiguous, stop and ask the manufacturer or a qualified workshop. Mixing a video for one generation with a manual for another can produce a convincing but wrong process.
After the bleed
Clean the caliper exactly as the fluid maker requires, remove the block in the documented order, and reinstall uncontaminated pads and retaining hardware. Refit the wheel securely and keep fingers clear while checking the lever.
Confirm:
- firm, repeatable lever feel;
- no fluid at any port, hose, fitting, piston, or lever;
- pads retract without continuous rotor drag;
- pad-retaining hardware is installed correctly;
- the rotor and pads remain clean; and
- braking functions during a low-speed test away from traffic.
Persistent softness after a careful bleed is not solved by endlessly adding fluid. Use the spongy-brake diagnostic order and stop if the system cannot pass a stationary safety check.
Your next step
Put the spreader and every unidentified plastic insert aside. Search the exact caliper code in the brake maker’s service library, find the bleed-block entry, and compare the tool in your hand with the manual before opening a port.
Sources and further reading
- SRAM: why the correct bleed block is necessary for road brakes
- SRAM Hydraulic Road Disc brake hose-shortening and bleed manual
- Shimano current road hydraulic dealer manual example: specified bleed-spacer process
- r/bikewrench discussion: soft brake after a bleed performed with a piston spreader — used as an editorial demand signal, not as a procedure for another brake.