Entry-level first road bike or spend more now?
Choose a first road-bike budget by fit, required features, complete ride-ready cost, and what you can already explain—not fear of upgrading later.
 Field guide / entry-level-or-better-first-road-bike
Before you view or pay
Check fit, condition, and starter gear first
Use the buying checklist to choose the right path: used-bike viewing, first-bike fit and type, hidden repair costs, or starter gear.
Buy the least expensive complete, correctly fitting bike that meets requirements you can name today. Spend more only when the extra money fixes a known constraint—fit, gearing, tyre clearance, braking, service support, or regular use—not because you are afraid an entry-level label will make the bike obsolete.
The short answer: a sound entry-level road bike can support years of riding. A higher tier makes sense when you have identified a feature you will use, the complete purchase still fits your budget, and the bike remains easy to adjust and service.
Define the job before the tier
Write down where and how you expect to ride for the first year:
- usual ride length and frequency;
- steepest local climbs;
- smooth roads, broken surfaces, or light gravel;
- dry-weather leisure or all-weather commuting;
- solo riding, social groups, events, or racing;
- storage, transport, and local workshop access.
This turns vague “future-proofing” into requirements. A low enough climbing gear, clearance for the tyres you need, mounts for practical equipment, and a comfortable position matter now. A lighter frame or electronic shifting may be enjoyable, but it does not rescue the wrong size or unsuitable gearing.
Use how to build a first-road-bike shortlist to reduce the market to a few testable options before comparing trim levels.
Price the complete first year
The sticker price is only one line. Reserve money for:
- a correctly fitted helmet and suitable lights;
- pedals if the bike does not include them;
- bottle cages, bottles, and weather-appropriate clothing;
- a spare tube or tubeless repair supplies, tyre levers, and a pump;
- initial fit changes such as a stem, saddle, or different-width handlebar;
- an early service if the seller does not include one;
- insurance or a strong lock when your use requires it.
Do not spend the emergency repair budget to reach the next groupset. The complete first-road-bike budget helps compare ride-ready totals instead of bike-only prices.
Spend more for a solved problem
An upgrade tier can be rational when it buys a specific result:
- Fit: the better model is available in the correct size or has a more suitable geometry.
- Gearing: your terrain requires a lower approved gear range.
- Tyres: the frame safely accepts the width your surfaces require.
- Brakes: you need a system suited to regular wet riding, long descents, or your service situation.
- Controls: the lever shape and reach allow confident braking from your normal hand position.
- Support: the local seller includes setup, adjustments, warranty handling, and parts access you value.
Name the benefit in one sentence. “This version gives me a lower climbing gear and hydraulic braking for a wet, hilly commute” is a decision. “I will not outgrow it” is a hope.
Do not buy an expensive adjustment problem
Some premium bikes use one-piece or internally routed cockpits that make stem length, bar width, and front-end height expensive to change. That can be reasonable after your position is established. It is a poor form of future-proofing when you are still learning what feels sustainable.
A separate stem and handlebar, conventional seatpost, common fasteners, and documented service parts leave room for learning. Read why a first road bike benefits from an adjustable cockpit before paying extra for integration.
Treat likely replacement as information, not failure
Your first season may reveal that you love racing, prefer gravel, need commuting mounts, or simply want a different posture. Buying a sensible first bike does not waste money if it teaches those preferences while remaining useful and resellable.
Choose a better model now when all four statements are true:
- The bike fits and passes a real test ride.
- You can identify the extra feature and when you will use it.
- The full first-year cost remains comfortable.
- The bike can be adjusted and serviced where you live.
Choose the entry model when the upgrade mainly changes weight, finish, prestige, or features you cannot yet connect to your riding.
Compare the purchase, not the promise
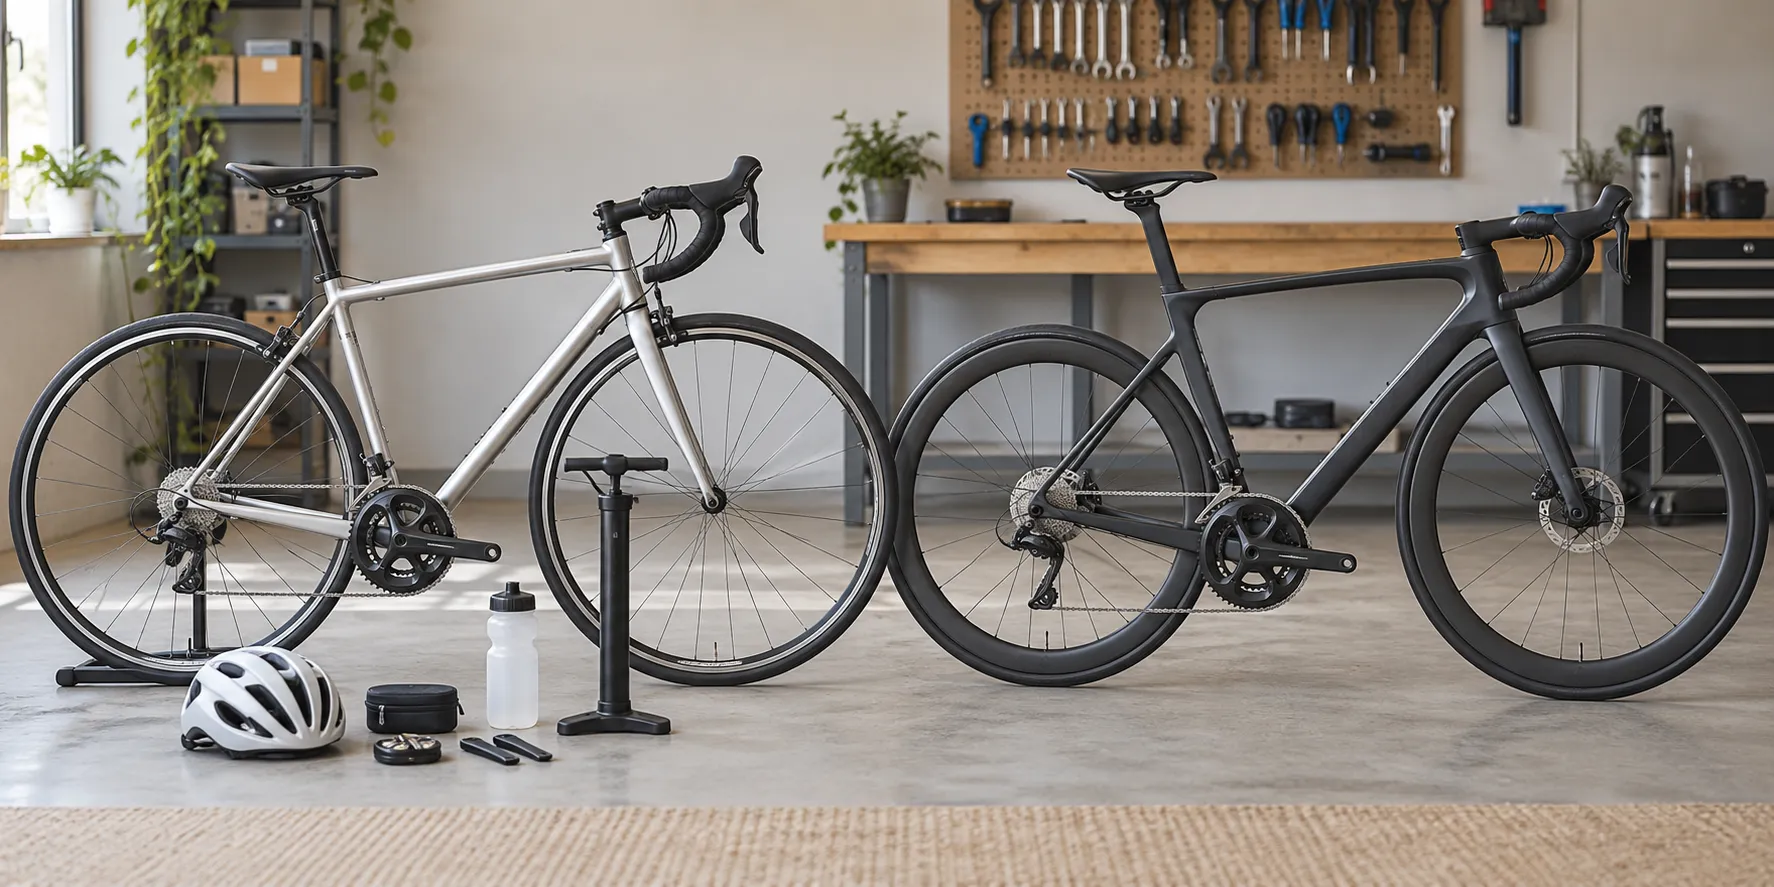
Ask the seller for an itemised comparison between two levels: frame and fork, drivetrain, gear range, brakes, wheels and tyres, cockpit adjustability, included setup, and warranty support. Then test the same route and controls if possible.
Ignore a planned upgrade that costs nearly as much as buying the correct specification now. Conversely, do not pay hundreds more to avoid a cheap future change such as tyres or contact points. The first-road-bike buying checklist keeps fit, condition, hidden costs, and starter gear in the decision.
Your next step
Set three numbers: maximum bike-only price, reserved setup-and-gear budget, and cash kept for the first service. Shortlist one entry-level bike and one step-up model in the same intended category. Test both, then write the exact problem the extra spend solves. If that sentence is still vague, keep the money.
Sources and further reading
- r/cycling demand signal: whether to start with an entry-level road bike or pay more to delay an upgrade — used as an editorial question signal, not as product evidence.